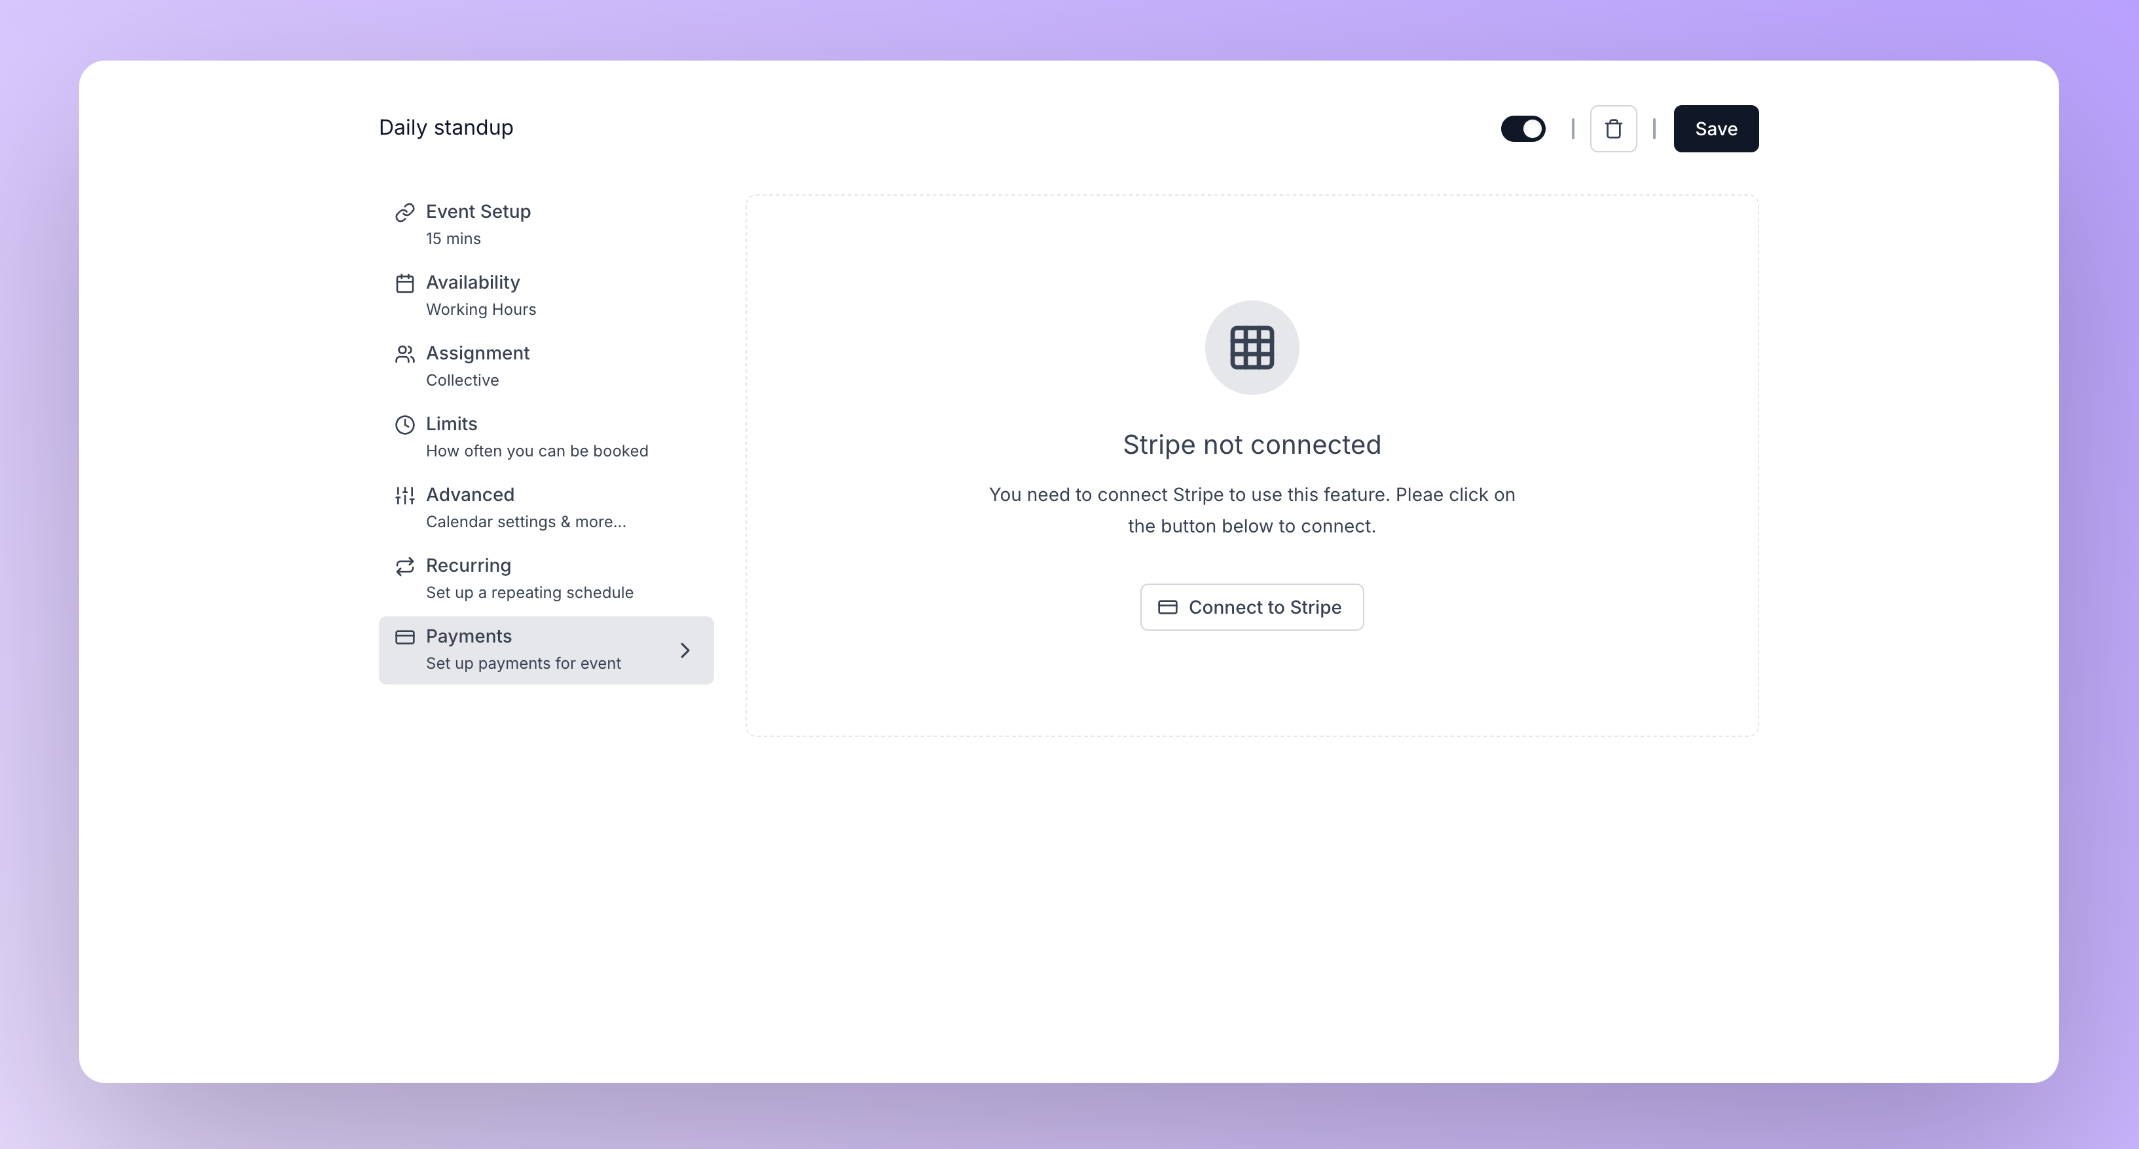
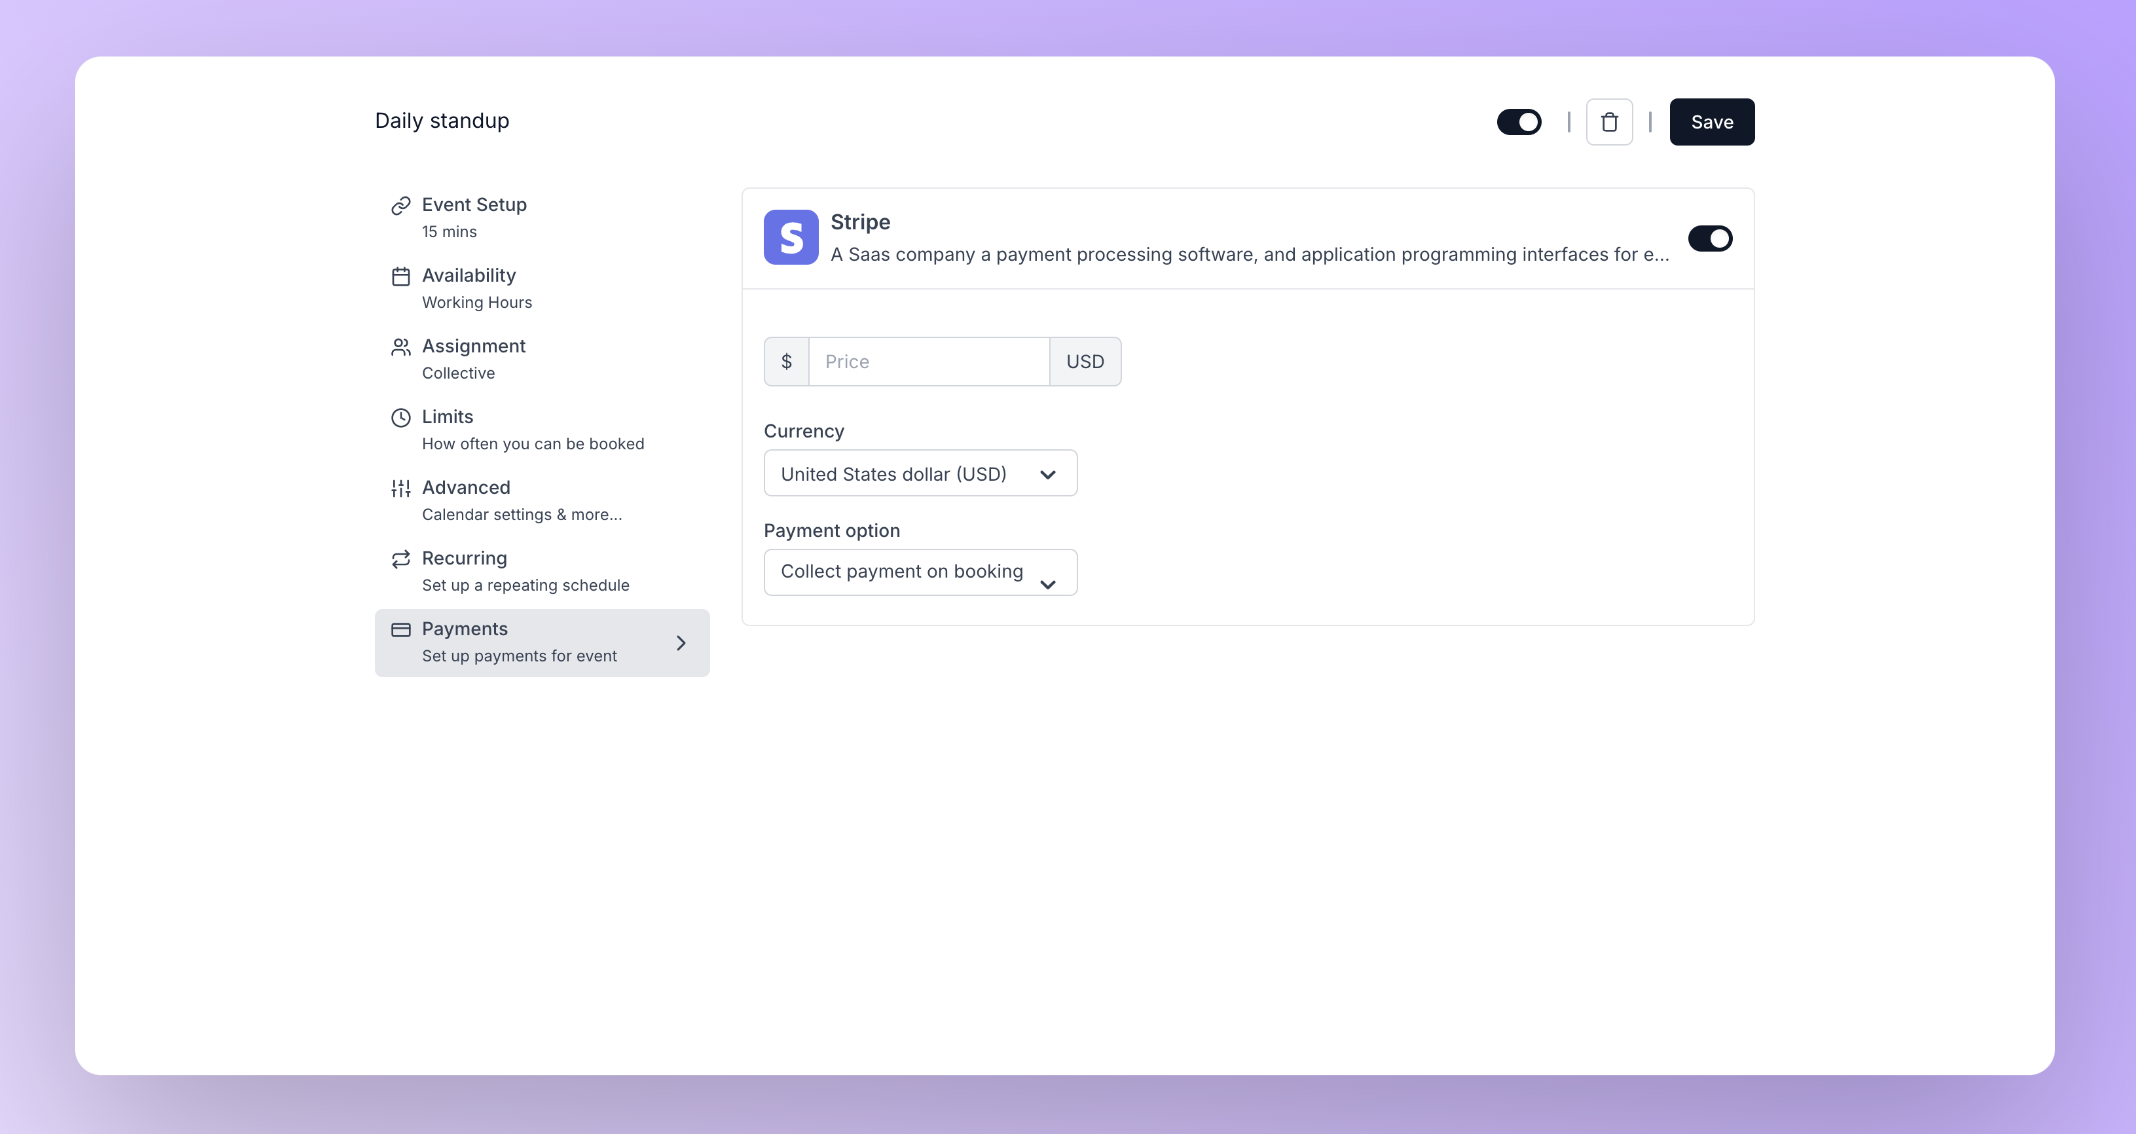
Individual event type
Below code snippet can be used to render the create event type atom, which is a form with all the required input fields needed to create an event type.Team event type
For creating an event type for a team, you need to provide the team id of your particular team as a prop to the create event type atom. Importantly, a team event type can only be created by a managed user who has an accepted admin or owner role within the team. That means you have to create a managed user and then add an accepted membership with an admin or owner role by making a request to the memberships endpoint. Example body:<CreateEventType /> component while passing teamId={teamId} to it to create a team event type:
Below is a list of props that can be passed to the create event type atom
Along with the props, create event type atom accepts custom styles via the customClassNames prop. Below is a list of props that fall under this customClassNames prop.
Individual and team event types take in the same props.
Event type settings
The event type settings contains various tabs that can be used to configure or make modifications to the event type that has just been created. Below code snippet can be used to render the event type settings atom.eventTypeId is of a team event type id, then only the owner or admin of the team can update the event type settings. That means
you have to create a managed user and then add an accepted membership with an admin or owner role by making a request to the memberships endpoint. Example body:
<EventTypeSettings /> component while passing id of a team event type enabling admin or owner to edit team event types.
For a demonstration of the event type settings atom, please refer to the video below.
Below is a list of props that can be passed to the event type settings atom.
Along with the props, event type settings atom accepts custom styles via the customClassNames prop. Below is a list of props that fall under this customClassNames prop.
Please ensure all custom classnames are valid Tailwind CSS classnames.
Programmatic Form Validation and Submission
The EventTypeSettings component supports programmatic form validation and submission through a ref-based API. This allows you to validate form data and submit forms programmatically without user interaction.Ref Methods
Callbacks
ThehandleFormSubmit method accepts an optional callbacks object with the following properties:
- onSuccess: Called when the form submission is successful. This allows you to execute additional logic after a successful update.
- onError: Called when an error occurs during form submission. The error parameter contains details about what went wrong, allowing you to handle specific error cases or display custom error messages.
validateForm method returns an EventTypeFormValidationResult object with:
isValid: Boolean indicating if the form passed validationerrors: Object containing any validation errors found
validateForm method will not return any error. The validation focuses on the format and consistency of provided data rather than enforcing required field completion.
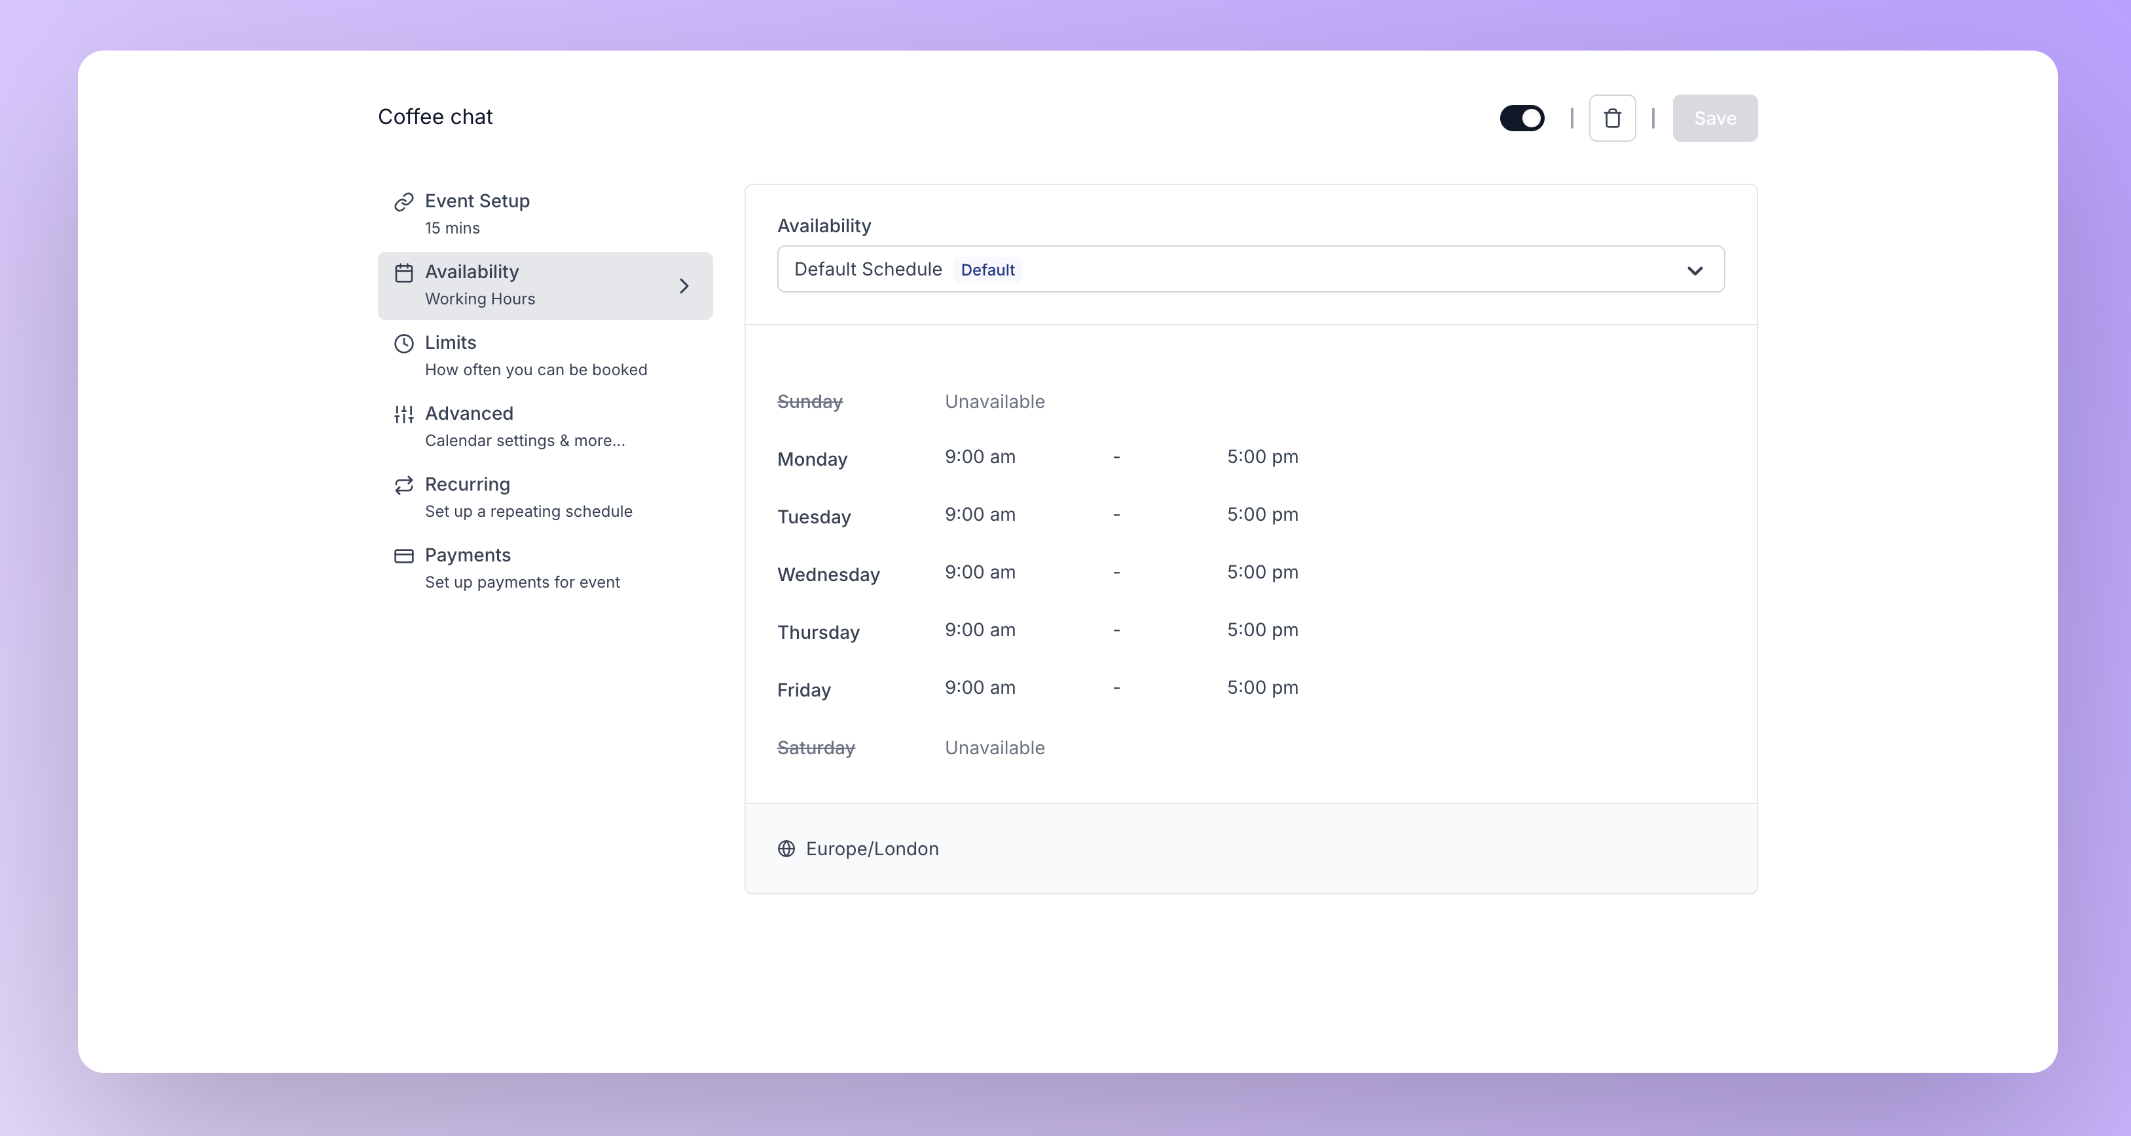
Following are the tabs that are available in the event type settings atom:
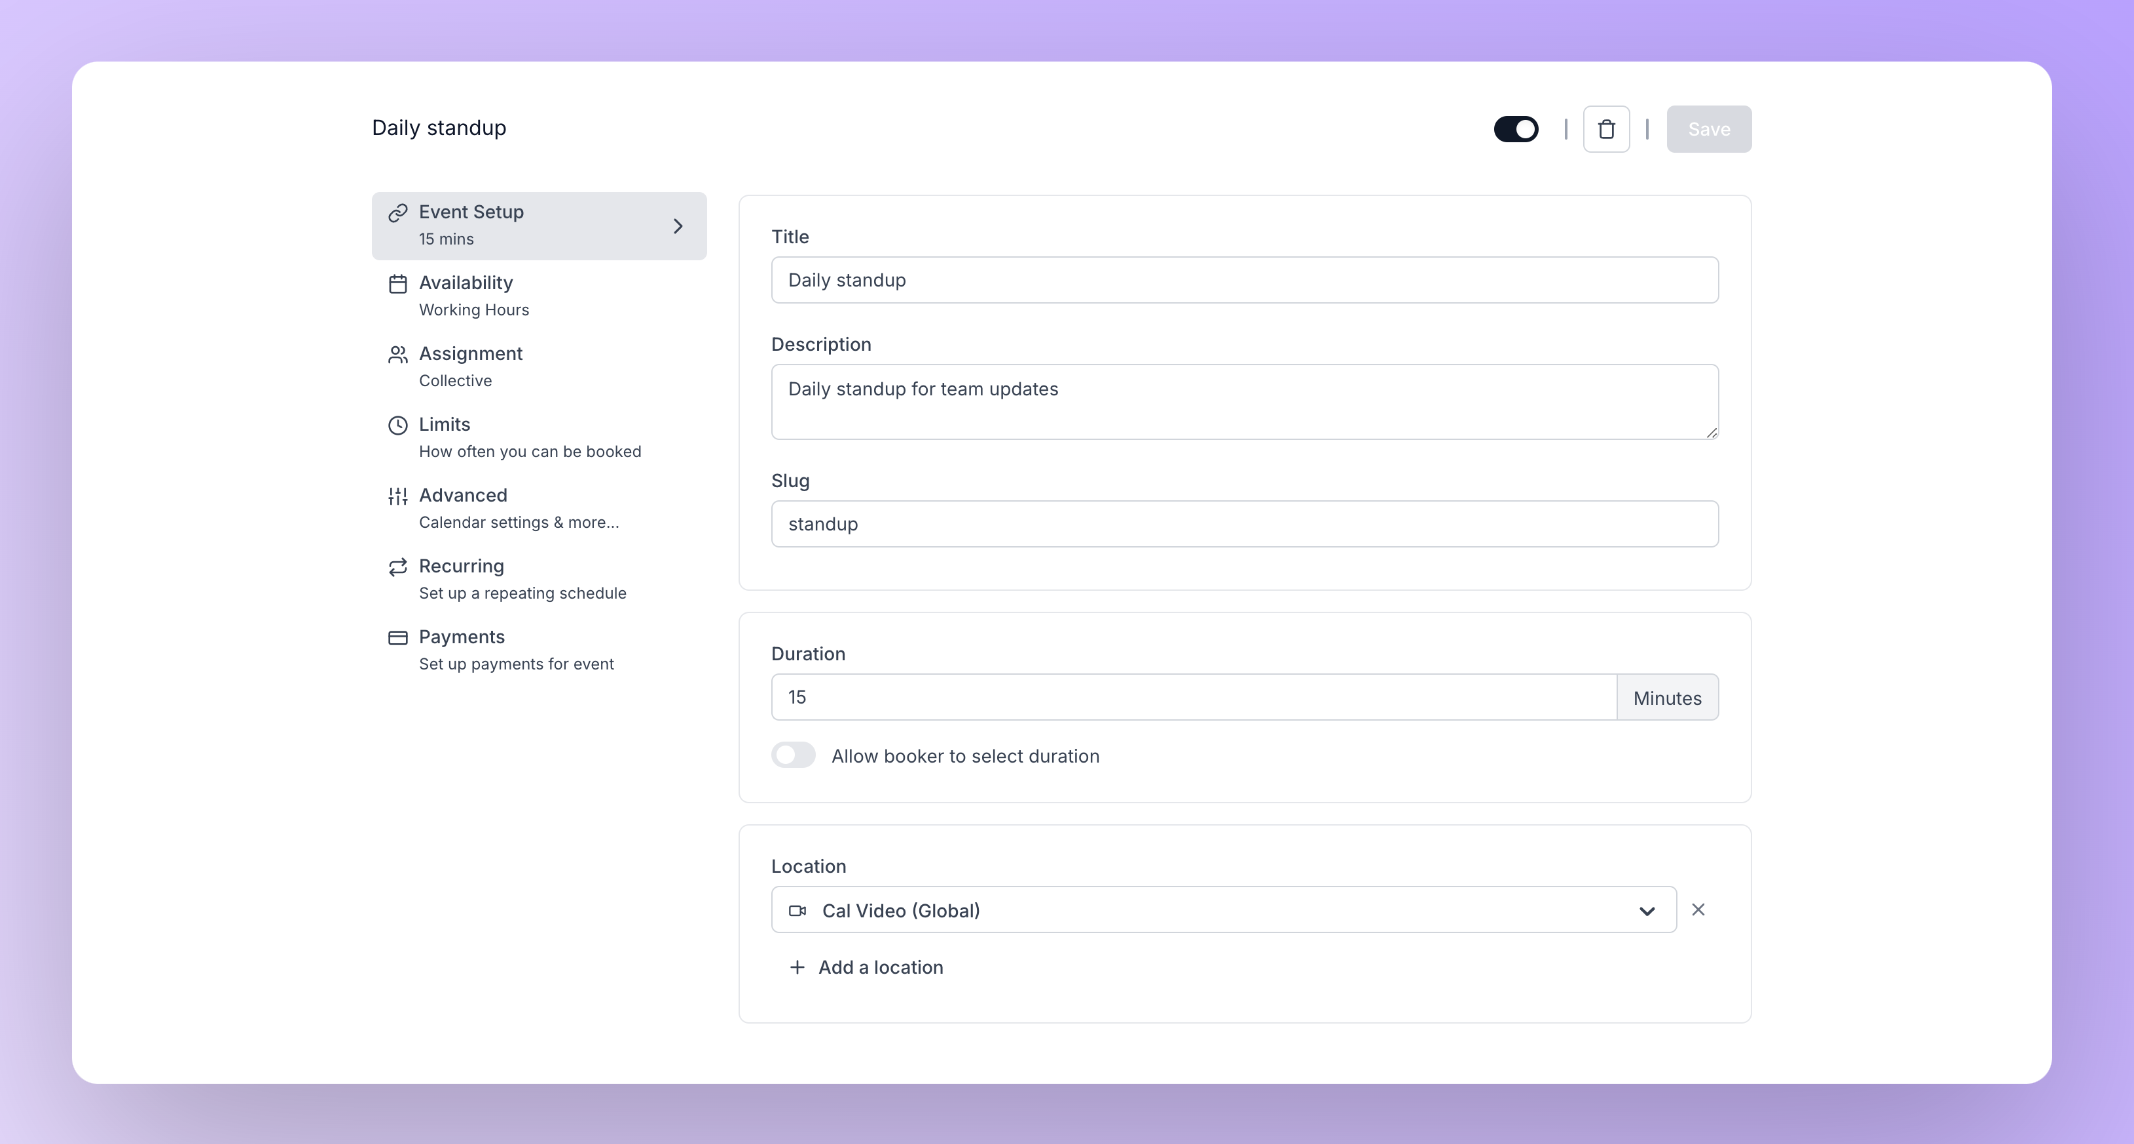
1. Event Setup
The event setup tab allows users to configure the fundamental aspects of their events. In this tab, users can define or update essential details such as the event title, description, duration, slug, location as well as the event URL.
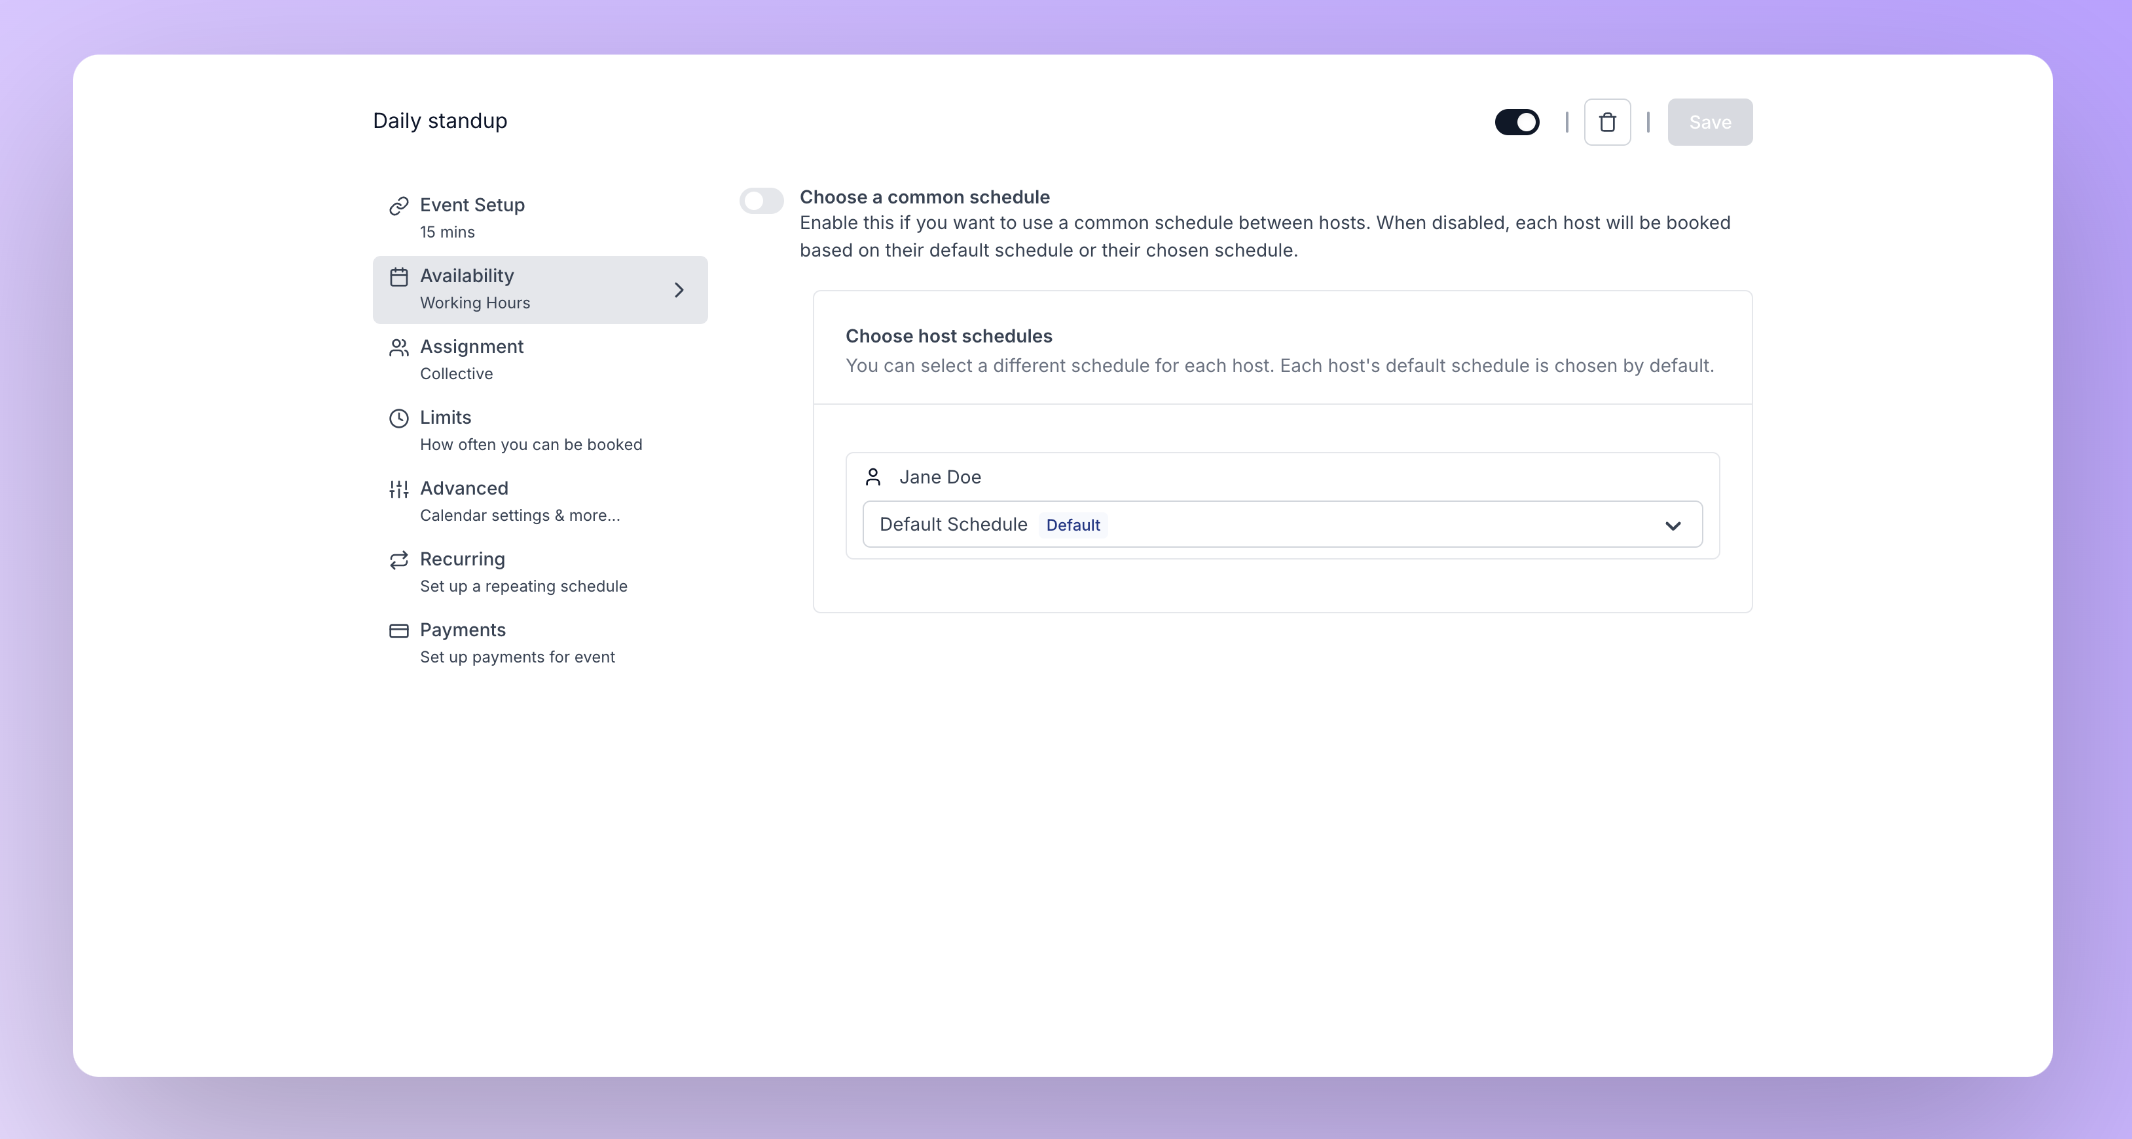
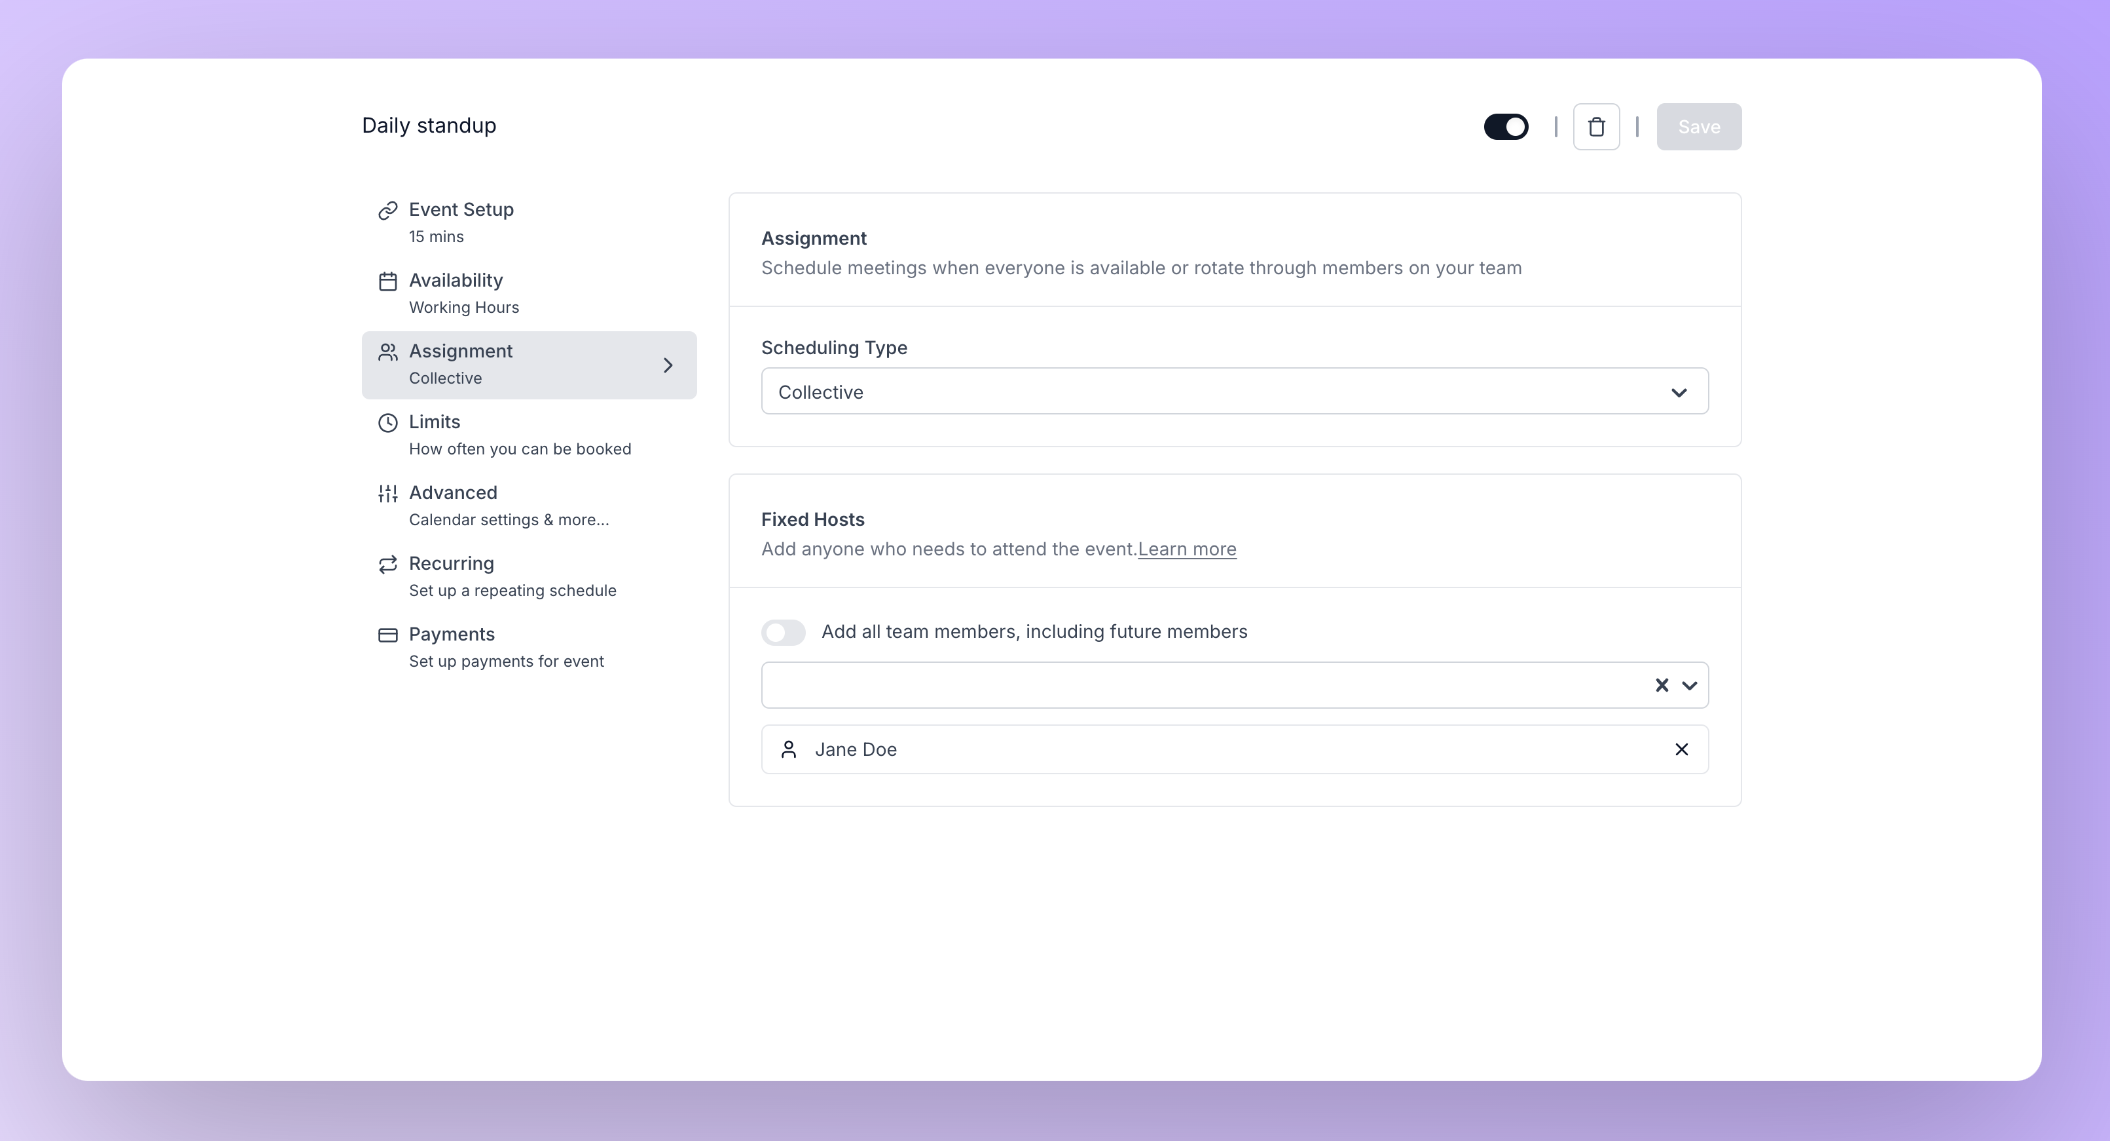
5. Advanced
The advanced tab lets you customize your event type with a lot more options. For example, you can set a custom name for the event type that will appear in your calendar, or add questions that will appear on your booking page. Another option would be to add an email verification for the person who is booking the event.
To protect registered Cal.com users from impersonation, email verification is always required when the booker enters an email address that belongs to an existing Cal.com account. This check runs even if email verification is not enabled on the event type.
6. Recurring
The recurring tab lets you set up a recurring event. You can set up recurring events such as weekly, monthly, yearly, etc, and choose how many times the event should repeat. You can schedule a recurring event for up to 32 occurrences.
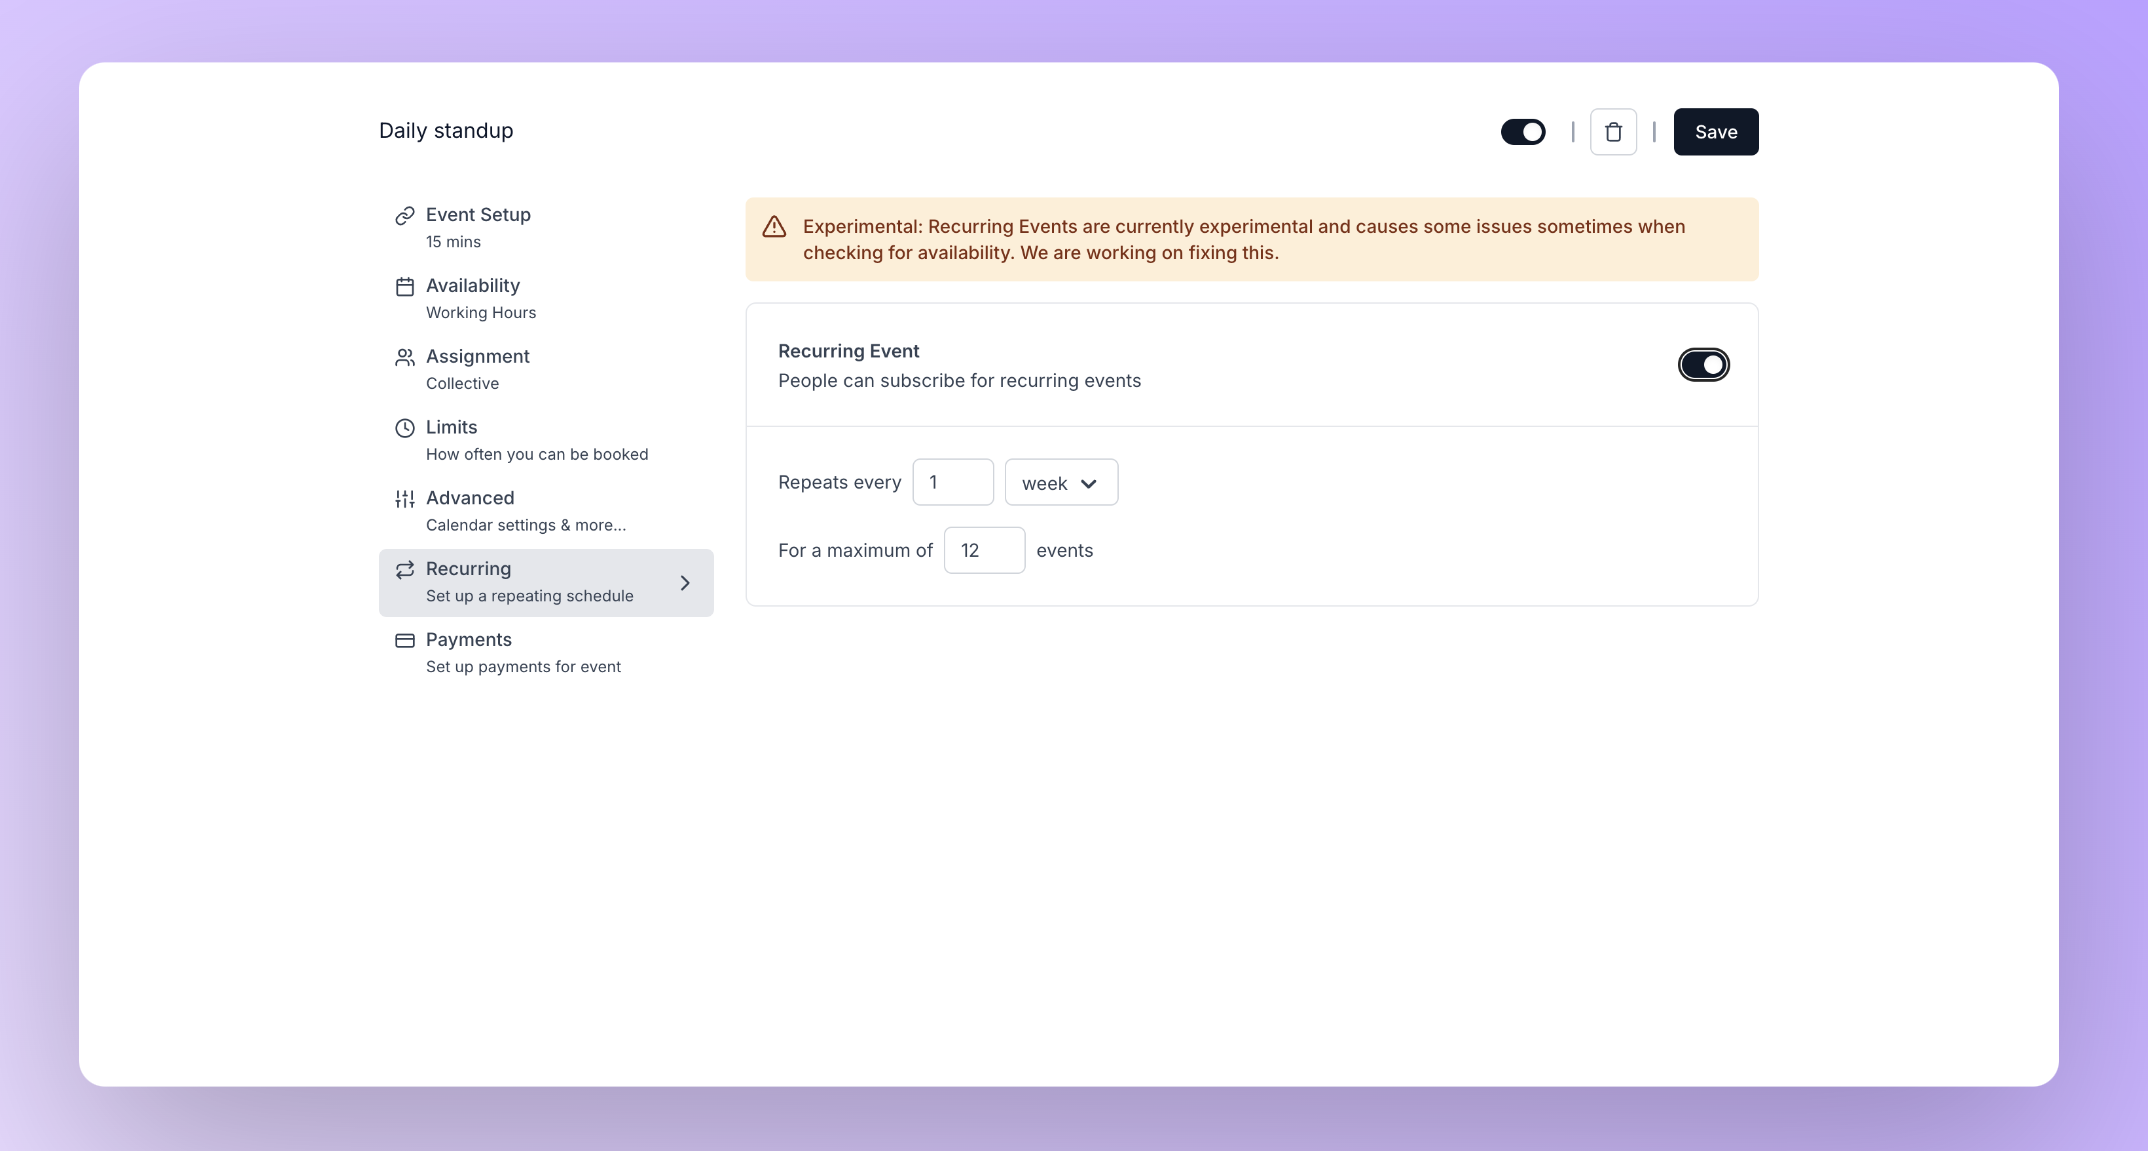
Recurring events are currently experimental and causes some issues sometimes when checking for availability. We are working on fixing this.